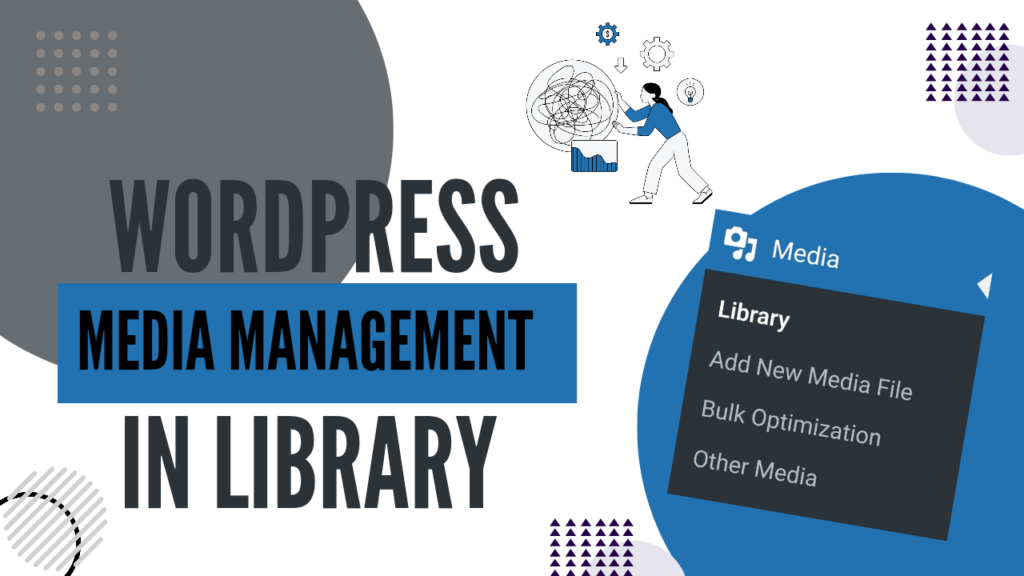
Managing Media Library
Welcome, blogger! If you’re working with WordPress, chances are you’ve uploaded images, videos, and other files into the WordPress media library. But let’s be honest — as your blog grows, the WordPress media library can become chaotic, making it hard to find, manage, and optimize files.
The good news? Managing media in WordPress doesn’t have to be a headache. In this tutorial, I will take you by the hand and walk through the process of organizing media files in WordPress, why it is absolutely important for your website success, and how to really optimize your media library like a pro. Let’s dive right in!
Why You Should Care About WordPress Media Management
Your WordPress media library serves more than a storage for uploaded files. It is also the back of your webpage’s visual content.
Now, here are three highly convincing reasons why effective WordPress media management actually matters:
- Faster Site Performance:
Badly-sized and unoptimised large media files actually slow down your website due to their size, as it has a negative implication on both the user experience of your site and its visibility in search engines. Smaller files ensure faster file loading. - High SEO:
Search engines prefer a clean and optimized media source. You are increasing your site’s discoverability through tagging images with alt text, resizing files, and using descriptive filenames. - Streamlined Workflow:
A library with disorganization will only make it difficult to locate files. Learning how to organize media files in WordPress saves time, increases efficiency, and keeps you sane.
Step 1: Organizing Media Files in WordPress
For the purpose of effective WordPress media management, ensure that files are kept in an organized manner. This is how you can do it:
1. Use Folders and Categories
WordPress does not natively offer folders; however, there are plugins like Media Library Folders or Enhanced Media Library that can create categories and folders to make the organizing of files effective.
- Why it matters: A folder structure helps you group images by blog post, year, or type so you can easily find a file.
- Pro tip: Create folders for images related to specific blog posts, e-commerce products, or user-generated content.
2. Use Descriptive File Names
Avoid using generic names such as “IMG001.jpg.” Instead, describe your file name. Use “blue-widget-product-image.jpg.
- Why it matters: Descriptive filenames make your website more search-friendly and also support SEO.
- Pro tip: Put focus keywords in filenames for higher rankings.
3. Bulk Edit Metadata
Editing alt text, captions, and descriptions as a bulk saves you loads of hours. You could use tools such as Bulk Edit Metadata to update dozens of files within minutes or hours.
- Why it matters: Metadata makes your media library accessible and improves your SEO performance.
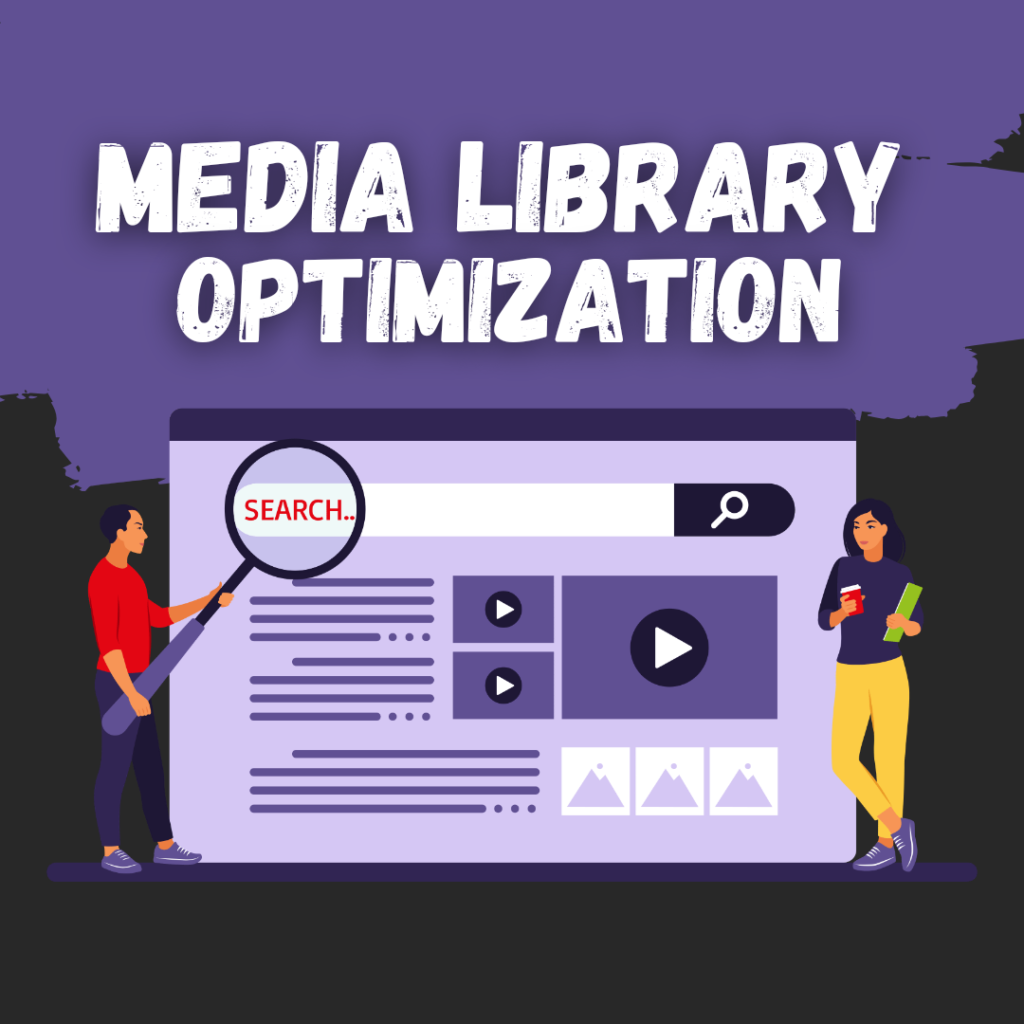
Step 2: WordPress Media Library Optimization
With your files organized, now is the time to optimize your WordPress media library for better performance.
1. Compress Images Without Losing Quality
Large image files can really slow down your site. Tools like Smush or ShortPixel automatically compress images at upload time.
- Why it matters: Compressed images speed up loads without loss of quality.
- Pro tip: Use WebP format for lighter file sizes and better performance.
2.Clean Unused Media Files
After some time, your WordPress media library has unused files that swell your database. Use the plugins Media Cleaner to clean out these files in a safe manner.
- Why it matters: Remove unwanted files to declutter your site and make your database svelte.
3.Use Lazy Loading
Lazy loading is when media files load only when they reach the viewport.
- Why it matters: This minimizes the first page load time, especially on media-intensive sites.
- Pro tip: Use a plugin like Lazy Load by WP Rocket or set it up through your theme settings.
Step 3: Tips for Advanced WordPress Media Management
1. Leverage a Content Delivery Network (CDN)
A CDN such as Cloudflare or StackPath will cache media files across different servers spread around the world, thus ensuring that content is delivered to users based on location.
- Why care: CDNs reduce the load on the server, ensuring faster media delivery when dealing with a global audience.
- Pro tip: Use a CDN with caching plugins for maximum performance.
2. Add Media Tags and Taxonomies
Plugins like FileBird or Media Library Assistant let you tag and add custom taxonomies to your media files.
- Why it matters: Tags make it easier to filter and locate specific files.
- Pro tip: Create a tagging system for the most common types of content.
3.Media Library Cleanup
Schedule a monthly reminder to clean up your WordPress media library and eliminate old or duplicate files.
- Why it matters: Regular audits keep unnecessary storage usage from accumulating and help keep the library organized.
Real-Life Case Study: How Organizing Your Media Can Improve SEO
Case Study: With over 1,000 media files, the case study’s fashion blog took too long to load, and their search rankings sucked. Here’s what it took to get things into order for their WordPress media library: organizing, compressing images, and using lazy loading yielded:
- A 30% page load speed gain
- A 20% organic traffic boost in the first three months
- Increased engagement due to higher user experience
That is the difference proper WordPress media management can make in the real world.
Step 4: Media Management Tools in WordPress
WordPress media management has become an easier job with the right tools. Here are some must-haves:
1. Media Library Organizer
This is helpful when you need to create folders and categories for easy browsing. This is ideal for bloggers managing hundreds of files.
2. Imagify
This helps compress and optimize images without loss of quality. It also supports bulk optimization.
3. FileBird
This is a drag-and-drop interface for organizing your files.
4. Media Cleaner
Clear out unused or broken media files.
5. Regenerate Thumbnails
Automatically resizes thumbnails when you change your theme.
Step 5: Link Management and Internal Linking
Link to related blog posts and keep visitors on your site longer. For example:
- If you’re discussing image compression, refer readers to your post on How to Speed Up Your WordPress Site.
- To explain file naming and metadata, refer readers to your article on SEO Best Practices for Beginners .
– Internal linking can make navigation easier, and also improves your SEO.
Conclusion
Blogger, it need not be the case that managing your WordPress media library has to be a hectic thing. By the implementations as given in this guide, you will be able to organize media files in WordPress, enhance the performance of your site and raise the SEO rankings. Never forget that little effort in media management goes a long way into creating a seamless user experience.
What are your go-to tips for managing media in WordPress? Share your thoughts below or check out more tips on profitsnation.com to take your blogging journey to the next level!
In case you get into trouble anywhere! Feel free to approach me at amirmeraj@profitsnation.com.
1. Why should I organize my WordPress media library?
Organizing your WordPress media library helps streamline workflows, improve site performance, and enhance SEO. By categorizing files and using descriptive names, you make it easier to locate files while improving your website’s overall efficiency.
2.What plugins are best for managing media in WordPress?
Some top plugins for WordPress media management include:
FileBird: For creating folders and categorizing files.
Media Cleaner: To remove unused or duplicate files.
Smush: For compressing images.
These plugins simplify managing and optimizing your WordPress media library.
3.How can I optimize images in WordPress without losing quality?
You can use image optimization tools like ShortPixel or Imagify. These plugins compress your images without sacrificing quality. Additionally, switching to WebP format can significantly reduce file size and improve load speeds.
4.What are the best practices for naming media files?
Always use descriptive filenames that reflect the file’s content. For example, instead of “IMG001.jpg,” use “red-sneakers-product-image.jpg.” This practice helps with SEO and makes it easier to find files in your WordPress media library.
5.How can I remove unused media files in WordPress?
You can safely remove unused media files by using a plugin like Media Cleaner. It scans your WordPress media library for files that are no longer linked to posts or pages, allowing you to delete them without affecting your site.