WordPress Settings
One of the most critical yet commonly overlooked setup tasks you’re likely to have with a WordPress site is setting up the right settings. Missing this step will lead you into various performance problems, poor user experience, and even security vulnerabilities. From launching your first blog to building a professional website, knowledge and tweaking of essential WordPress settings will save you many headaches and ensure your site runs smoothly from the day one.
In this post, we will look at 10 must-configure WordPress settings for a good launch. If you’re feeling lost with all the options, don’t worry—this article breaks down the most important settings step by step, focusing on why they are important and how they address real-world problems.
1. Set Your Site Title, Tagline, and URL
Why It’s Important:
Your site title and tagline define your brand’s identity and appear in search engine results. A badly set or default tagline like “Just Another WordPress Site” can really undercut your credibility. Ensuring your site URL uses HTTPS (not HTTP) is also essential to both SEO and security.
Configuration Walkthrough:
1.Go to Settings > General.

2.Change the Site Title and Tagline to your brand or blog niche name.
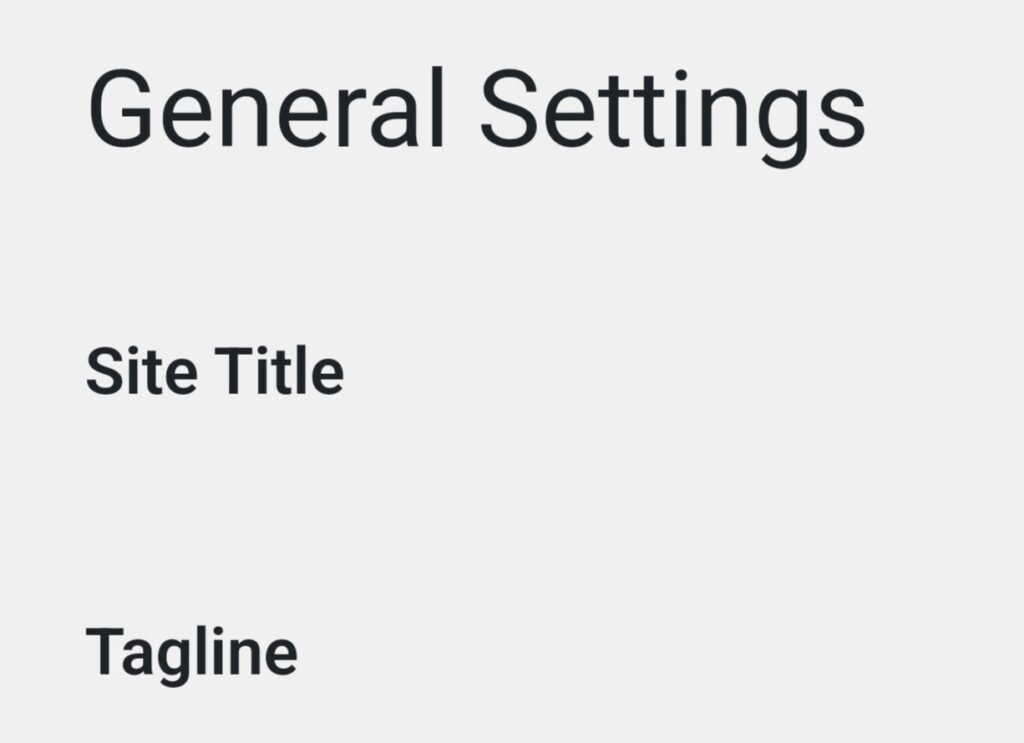
3. Make sure the WordPress Address (URL) and Site Address (URL) contain “https://“.

Pro Tip: Setting this option in correlation with your brand strategy will make your audience more likely to trust the website. Learn how to define your target audience
Permalinks affect how your URLs appear. A messy URL (e.g., example.com/?p=123) is bad for SEO and user understanding. A clean structure like example.com/essential-wordpress-settings boosts your rankings and readability.
Steps to Configure:
1.Navigate to Settings > Permalinks.

2.Select Post Name for optimal SEO.

3.Save changes from below.

A study by Backlinko found that, on average, URLs with keyword-rich content increase the CTR by 25%.
3. Set Correct Timezone and Language
Why It Matters:
A right timezone will post your updates at the appropriate time where you are set to schedule the posts.
For configuring the correct language, it aligns the interface of your website with your audience’s expectation.
How To Do That:
1. Go to Settings > General.

2.Select the timezone based on your target audience’s location.

3.Choose your site’s language accordingly.

This small step improves user experience and ensures timely content delivery.
4. Optimize Media Settings
Why It’s Important:
WordPress creates multiple image sizes by default, but these can bloat your storage if not configured properly. Optimizing media settings ensures faster load times and better website performance.
Steps to Configure:
1.Visit Settings > Media.

2.Adjust the thumbnail, medium, and large sizes based on your design needs.

3.Use a plugin like Smush to compress images further.
Learn more about how to improve your WordPress site’s user experience.
5. Set Up Discussion Settings
Why It’s Important:
Dismissing how comments appear on your posts prevents spam and keeps conversations healthy. Without the right settings, your comment section becomes a spambot playground.
How to configure:
1.Go to Settings > Discussion.

2.Toggle “Comment must be manually approved” to the right.

3.Filter malicious comments with the help of a plugin like Akismet Anti-Spam.

Pro Tip: Comments build community and engagement but should be monitored closely.
6. Customize Reading Settings
Why It’s Important:
Your reading settings dictate how visitors interact with your homepage and blog posts. This directly impacts your site’s usability and bounce rate.
Steps to Configure:
1.Navigate to Settings > Reading.

2.Choose whether your homepage displays a static page or the latest blog posts.

3.Set the number of posts to display on your blog page.

For blogs like yours, configuring a static homepage can create a professional impression while directing traffic to cornerstone content.
7. Update Your Privacy Policy
Why It’s Important:
A clear Privacy Policy is mandatory in many jurisdictions and is also a trust-builder with your visitors. WordPress comes with a basic template, but should definitely be adapted to the specifics of your website.
How to set it up:
1.Go to Settings > Privacy.

2.Select or create a Privacy Policy page.

3.Add information about data collection, cookies, and third-party services.
Check out our post on essential steps to start blogging.
8. Install SEO Plugins and Configure Search Engine Visibility
Why It’s Important:
Out-of-the-box, WordPress doesn’t provide advanced SEO tools. Installing an SEO plugin like Rank Math or Yoast SEO ensures your pages are optimized for search engines.
Steps to Configure:
1.Install and activate an SEO plugin.

2.Go to Settings > Reading, and be sure “Discourage search engines from indexing this site” is not checked.

According to Moz, a case study of a properly optimized website with targeted keywords showed an increase of 70% in organic traffic over the course of six months.
9. Secure Your Site with General Settings
Why It’s Important
A site without proper security settings can easily become a hacker’s candy. Even configuration of basic settings is the very first step towards securing your data and reputation.
How to Configure:
1.Install Wordfence Security or Sucuri Security.

2.Block repeated login attempts, activate two-step verification.

3.Change default admin usernames to something unique.

10. Set up Email Configuration for Notifications
Why It’s Important:
WordPress defaults to sending emails through the hosting server, and thus often to missed emails. A proper SMTP configured plugin ensures contact form mail, user registrations, and all other alerts are sent reliably.
Configure It:
1.Install and activate an SMTP plugin like WP Mail SMTP.

2.Configure your email details via Gmail, Outlook, or through your host.

Proper email settings stay in touch with your readers and do not let you lose out on potential opportunities.
Final Thoughts: Why WordPress Configuration Matters
Setting up your WordPress settings accurately is more than just checking off boxes; it’s about optimizing for performance, usability, and security. An optimally configured WordPress website ensures that:
This gives you better SEO ranking with clean URLs and structured data. It is also an excellent reason for enhancing user experience in leading to lower bounce rates.
You get stronger security as it protects both your site and users. Introducing the must-do WordPress settings: setting up the basic foundations to achieve success and scalability in your website.
Get more tutorials on blogging, SEO, and website optimization in our blog section. Don’t leave your WordPress site unoptimized—small changes can lead to big results!
1. Why is it important to configure WordPress settings after installation?
Configuring WordPress settings is crucial because the default settings may not align with your site’s goals. Proper configuration ensures better SEO optimization, improved site performance, and enhanced user experience. For example, setting permalinks correctly can improve your site’s search visibility, while optimizing media settings can speed up page load times.
2. How do I choose the right permalink structure for my WordPress site?
The best permalink structure for most websites is the Post Name option (example.com/post-title). It’s SEO-friendly, easy to read, and helps users understand the content of your page. To set it up, go to Settings > Permalinks and select Post Name. Don’t forget to save changes!
What happens if I skip configuring essential WordPress settings?
Skipping essential settings can lead to several issues:
Poor SEO rankings due to unoptimized URLs and no meta data.
Increased spam if discussion settings aren’t managed properly.
Security vulnerabilities from default admin usernames or weak settings.
Taking the time to configure these settings early prevents these problems and ensures a smoother experience for you and your visitors.
Need more WordPress tips? Check out our blog section!

